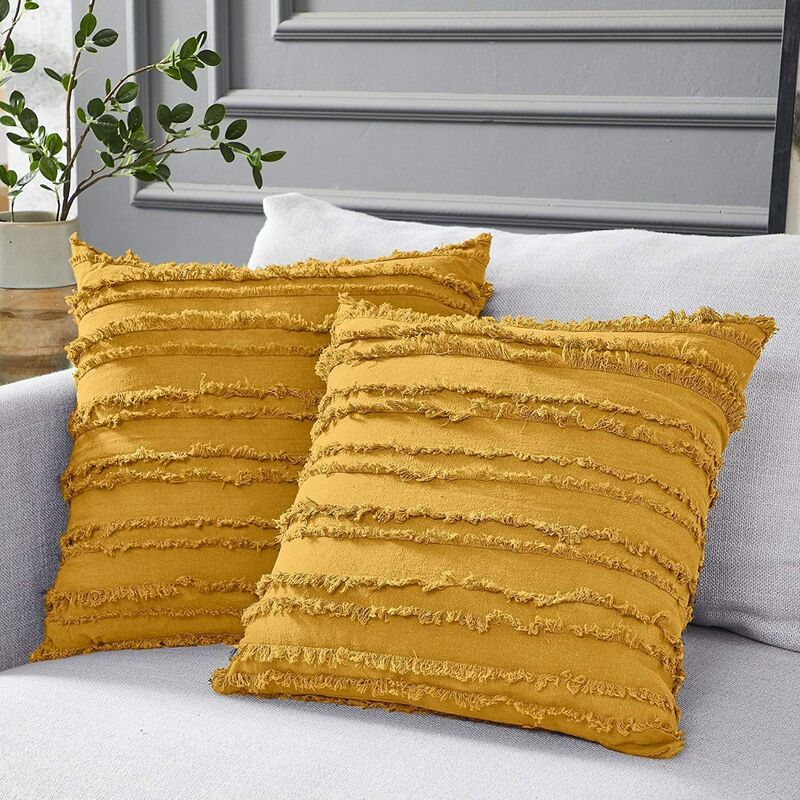
Introduction: Your sleep space is a canvas waiting to be adorned with your creativity and personality. Instead of settling for plain pillowcases, why not infuse them with your unique style? In this blog, we’ll embark on a journey of DIY pillowcase decoration, exploring various techniques that will add character, charm, and a personal touch to your bedroom decor. Get ready to unleash your inner artist and turn ordinary pillowcases into extraordinary works of art!
1. Tie-Dye Marvels: Bursting with Color and Style Tie-dye is a classic technique that adds a vibrant and playful touch to pillowcases. Here’s how you can master this art:
Materials Needed:
- Plain white pillowcases
- Fabric dye in your favorite colors
- Rubber bands
- Plastic squeeze bottles
Steps:
- Dampen the pillowcase to help the dye spread more easily.
- Twist, fold, or scrunch the fabric in different ways.
- Secure sections with rubber bands to create patterns.
- Mix your fabric dye according to the instructions and transfer it to squeeze bottles.
- Apply the dye to the sections you’ve prepared.
- Let the dye set for the recommended time.
- Rinse the pillowcase until the water runs clear, and then wash and dry it.
2. Fabric Painting: Express Your Artistic Flair Fabric painting allows you to showcase your artistic talents and create custom designs on your pillowcases. Here’s how to get started:
Materials Needed:
- Plain pillowcases
- Fabric paint in various colors
- Paintbrushes
- Stencils (optional)
Steps:
- Wash and dry the pillowcases before painting.
- Sketch your design lightly in pencil or use stencils for guidance.
- Start painting your design using fabric paint and brushes.
- Allow the paint to dry completely before using or washing the pillowcases.
3. Appliqué Adornments: Adding Texture and Depth Appliqué involves attaching fabric shapes or designs onto a base fabric, creating a multidimensional effect. Here’s how you can embellish your pillowcases with appliqué:
Materials Needed:
- Plain pillowcases
- Fabric scraps in various colors and patterns
- Fabric glue or fusible webbing
- Sewing machine (optional)
Steps:
- Cut out fabric shapes or designs from your fabric scraps.
- Attach fusible webbing to the back of the fabric pieces following the manufacturer’s instructions.
- Arrange the fabric pieces on the pillowcase and secure them with fabric glue or by sewing them on with a sewing machine.
- Allow the glue to dry or secure the fabric with stitching.
4. Personalized Printing: Custom Designs at Your Fingertips Personalized printing allows you to transfer your own designs, quotes, or images onto pillowcases. Here’s how you can achieve this:
Materials Needed:
- Plain pillowcases
- Fabric transfer paper
- Printer
- Iron
Steps:
- Design your artwork or choose an image to print on the pillowcase.
- Print the design onto fabric transfer paper.
- Follow the instructions on the transfer paper package to apply the design to the pillowcase using an iron.
Conclusion: Unleash Your Creativity on Your Pillowcases DIY pillowcase decoration is an opportunity to infuse your sleep space with your individuality and artistic flair. Whether you’re drawn to tie-dye’s vibrant colors, fabric painting’s artistic expression, appliqué’s textured charm, or personalized printing’s custom touch, these techniques offer endless possibilities to elevate your bedroom decor. So, gather your materials, set aside some creative time, and let your pillowcases become canvases that reflect your style and creativity!


